When you're short on budget and need to do some light building work on your own, cinder blocks are a great choice. Made from concrete and coal cinders, they are lightweight and cheap. However, building cinder block walls does need some specific knowledge, which we will discuss today.
A wall made of cinder block is quite light, and so it isn't recommended to build them anywhere they will come under some load. However, when you're building a retaining wall or a privacy wall, they are your go-to solution. Just make sure you aren't expecting any loads on them.
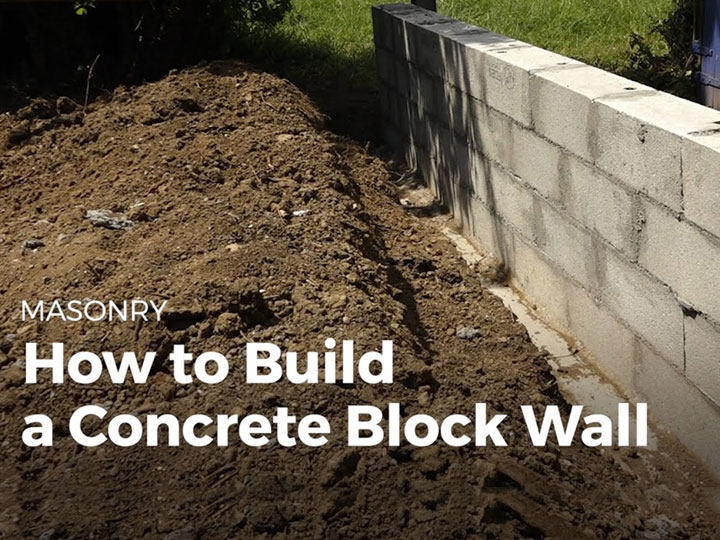
Here we describe how to build a cinder block wall.
Mark the ground space wall with string or chalk after measuring up the dimensions and positions of the wall. Use the block dimensions to figure out the number of blocks you will need to make the wall.
Get the cinder blocks set containing mostly full-sized blocks and some half blocks, these will be useful in constructing the edges and corners. Place the blocks as close as possible and try to avoid applying any pressure on areas that aren't ready to accept loads.
The number of cinder blocks required can be calculated in square feet. For example:
Note: The area of the wall is calculated by subtracting the area of walls and any opening provided.
Provide a 5% increase in the above area to account for wastage.
Then,
When you are finished with the calculations, let there be some margin of error with some extra material to account for fillers. This way you can meet any sort of uncertainties in your design.
The foundation or footing is the base of the cinder block wall. The width of the foundation should be more noteworthy than double the width of the cinder block chosen. Along these lines, first, figure the width of the wall and afterward ascertain the footing territory. A tape is utilized to quantify and check the elements of the footing region on the ground.
A wall of width 3 ft can have a foundation with 9 m width and 6 m depth. The heavier and taller the wall, the more extensive should be the footing. The developed footing should be liberated from any potential water leaking or pooling. Along these lines, consistently plan the foundation to guarantee appropriate seepage.
Check the foundation plan and development with the neighborhood construction standards.
The footing surface is applied with a layer of cement. Give some surface over it so the primary layer of the cinder block can all the more likely stick to the solid. Begin laying the cinder block from one finish of the wall according to the stamped design until the main turn of the wall is reached.
Follow the edges of the block laid from one finish to the next. All the four sides of the cinder block should be followed. Presently take out the cinder block and spot it aside. Pour mortar inside the followed lines utilizing a scoop. The mortar should be spread at a thickness of 1 inch.
Put the main cinder block on top of the mortar layer. It is put upstanding over the readied base and delicately pounded with the goal that it plunks down into the mortar blend. Apply mortar on the two projections or spines toward one side of the cinder block. Along these lines, the spines of the new block can be associated with the ribs of the generally positioned cinder block.
Now drive the new block into the old or the base block. This mortar joint can have a thickness of 3/8 inches. A similar advance is rehashed till the primary layer of the cinder block is finished. Wipe any overabundance mortar jutting outwards from the joints occasionally. Do this after the arrangement of each couple of blocks, with the goal that the mortar doesn't solidify.
When a total straight wall completes take a half cinder block or corner block. Spread the mortar on the footing zones and the distensions of the half block. Spot it straightforwardly on the highest point of the base block. Presently, keep on setting a full block, as referenced previously, along the line of the wall.
A corner block is utilized toward the beginning of the subsequent layer to keep away from in-line vertical joints. Keep using a level at regular intervals to check the degree of the blocks regarding the base block. Continuously check the level vertically and evenly.
For the third layer, a full cinder block is utilized toward the beginning, and a half block is utilized for the fourth layer and the other way around. This is followed until the wall has arrived at the ideal strength. At long last, strike the joints of the mortar utilizing a hammer or heavy hammer, which can assist with setting the block.
When the straight in-line wall development has arrived at a stature of 3 to 4 blocks, at that point the turning can begin. Similar advances are rehashed by utilizing substitute half blocks one or the other way to dodge in-line vertical joints.
The half blocks should be already included in your cinder blocks set. However, be sure to check before buying from the vendor. A large level can be utilized to check whether the corners built are plumb and square.